Getting started
From a bare server to your first app on HTTPS
About ten minutes, most of it waiting for the installer. You need a Hetzner server you can reach over SSH as root and, ideally, a domain whose DNS you control.
1Get a server
Kwerft runs on any Hetzner server with a fresh Ubuntu 22.04, 24.04 or 26.04, on amd64 or arm64.
- Hetzner Cloud: create a server with 8 GB of RAM or more (for example a CX33 or CAX21) from the Ubuntu image, and add your SSH key.
- Dedicated (Robot): install Ubuntu with
installimagefrom the rescue system.
The platform itself uses about 2.5 GB of memory, so 8 GB is the recommended size. A 4 GB server works with the --lite flag (no Hubble, shorter metric and log retention) and leaves little room for apps. Ports 80 and 443 must be free.
More on sizing, disks and what the installer changes on the host: Requirements.
2Point a domain at it optional
Pick a hostname for the console, such as ops.example.com, and create an A record pointing at the server's public IPv4 address (and an AAAA record for IPv6 if you like). Do this first, so the certificate can be issued during the install.
No domain yet? Leave out --domain. The console gets a temporary <public-ip>.sslip.io hostname with a real certificate, and you can switch to your own domain later under Settings › Console domain.
3Run the installer
SSH into the server and run, with your own hostname and email:
curl -fsSL https://kwerft.dev/install.sh | sudo bash -s -- --domain ops.example.com --email ops@example.com --yesThe script checks the server, sets up the host firewall, installs k3s, Cilium, Traefik, cert-manager, VictoriaMetrics and VictoriaLogs, then Kwerft. It takes four to five minutes and ends with a summary:
✓ Kwerft          control plane ready · registry zot
✓ Handoff         DNS 203.0.113.24 · token ready

  Open        https://ops.example.com/setup
  Setup token stored at /etc/kwerft/setup-token (mode 0600, single use, 24 h)
  Log         /var/log/kwerft/install.log

Done in 4m 12s. Re-run the same command any time to repair or upgrade.
--emailis optional; Let's Encrypt uses it for expiry notices.- Want to see the plan first? Add
--dry-runand nothing is changed. - The URL always serves the latest stable release. To pin one, use
https://kwerft.dev/v0.4.0/install.sh. - Something failed? The script stops with an exit code that says where, and running it again picks up where it left off. See Troubleshooting.
4Create the owner account
Open the address from the summary. The console stays locked until you prove you control the server, so read the setup token on the server:
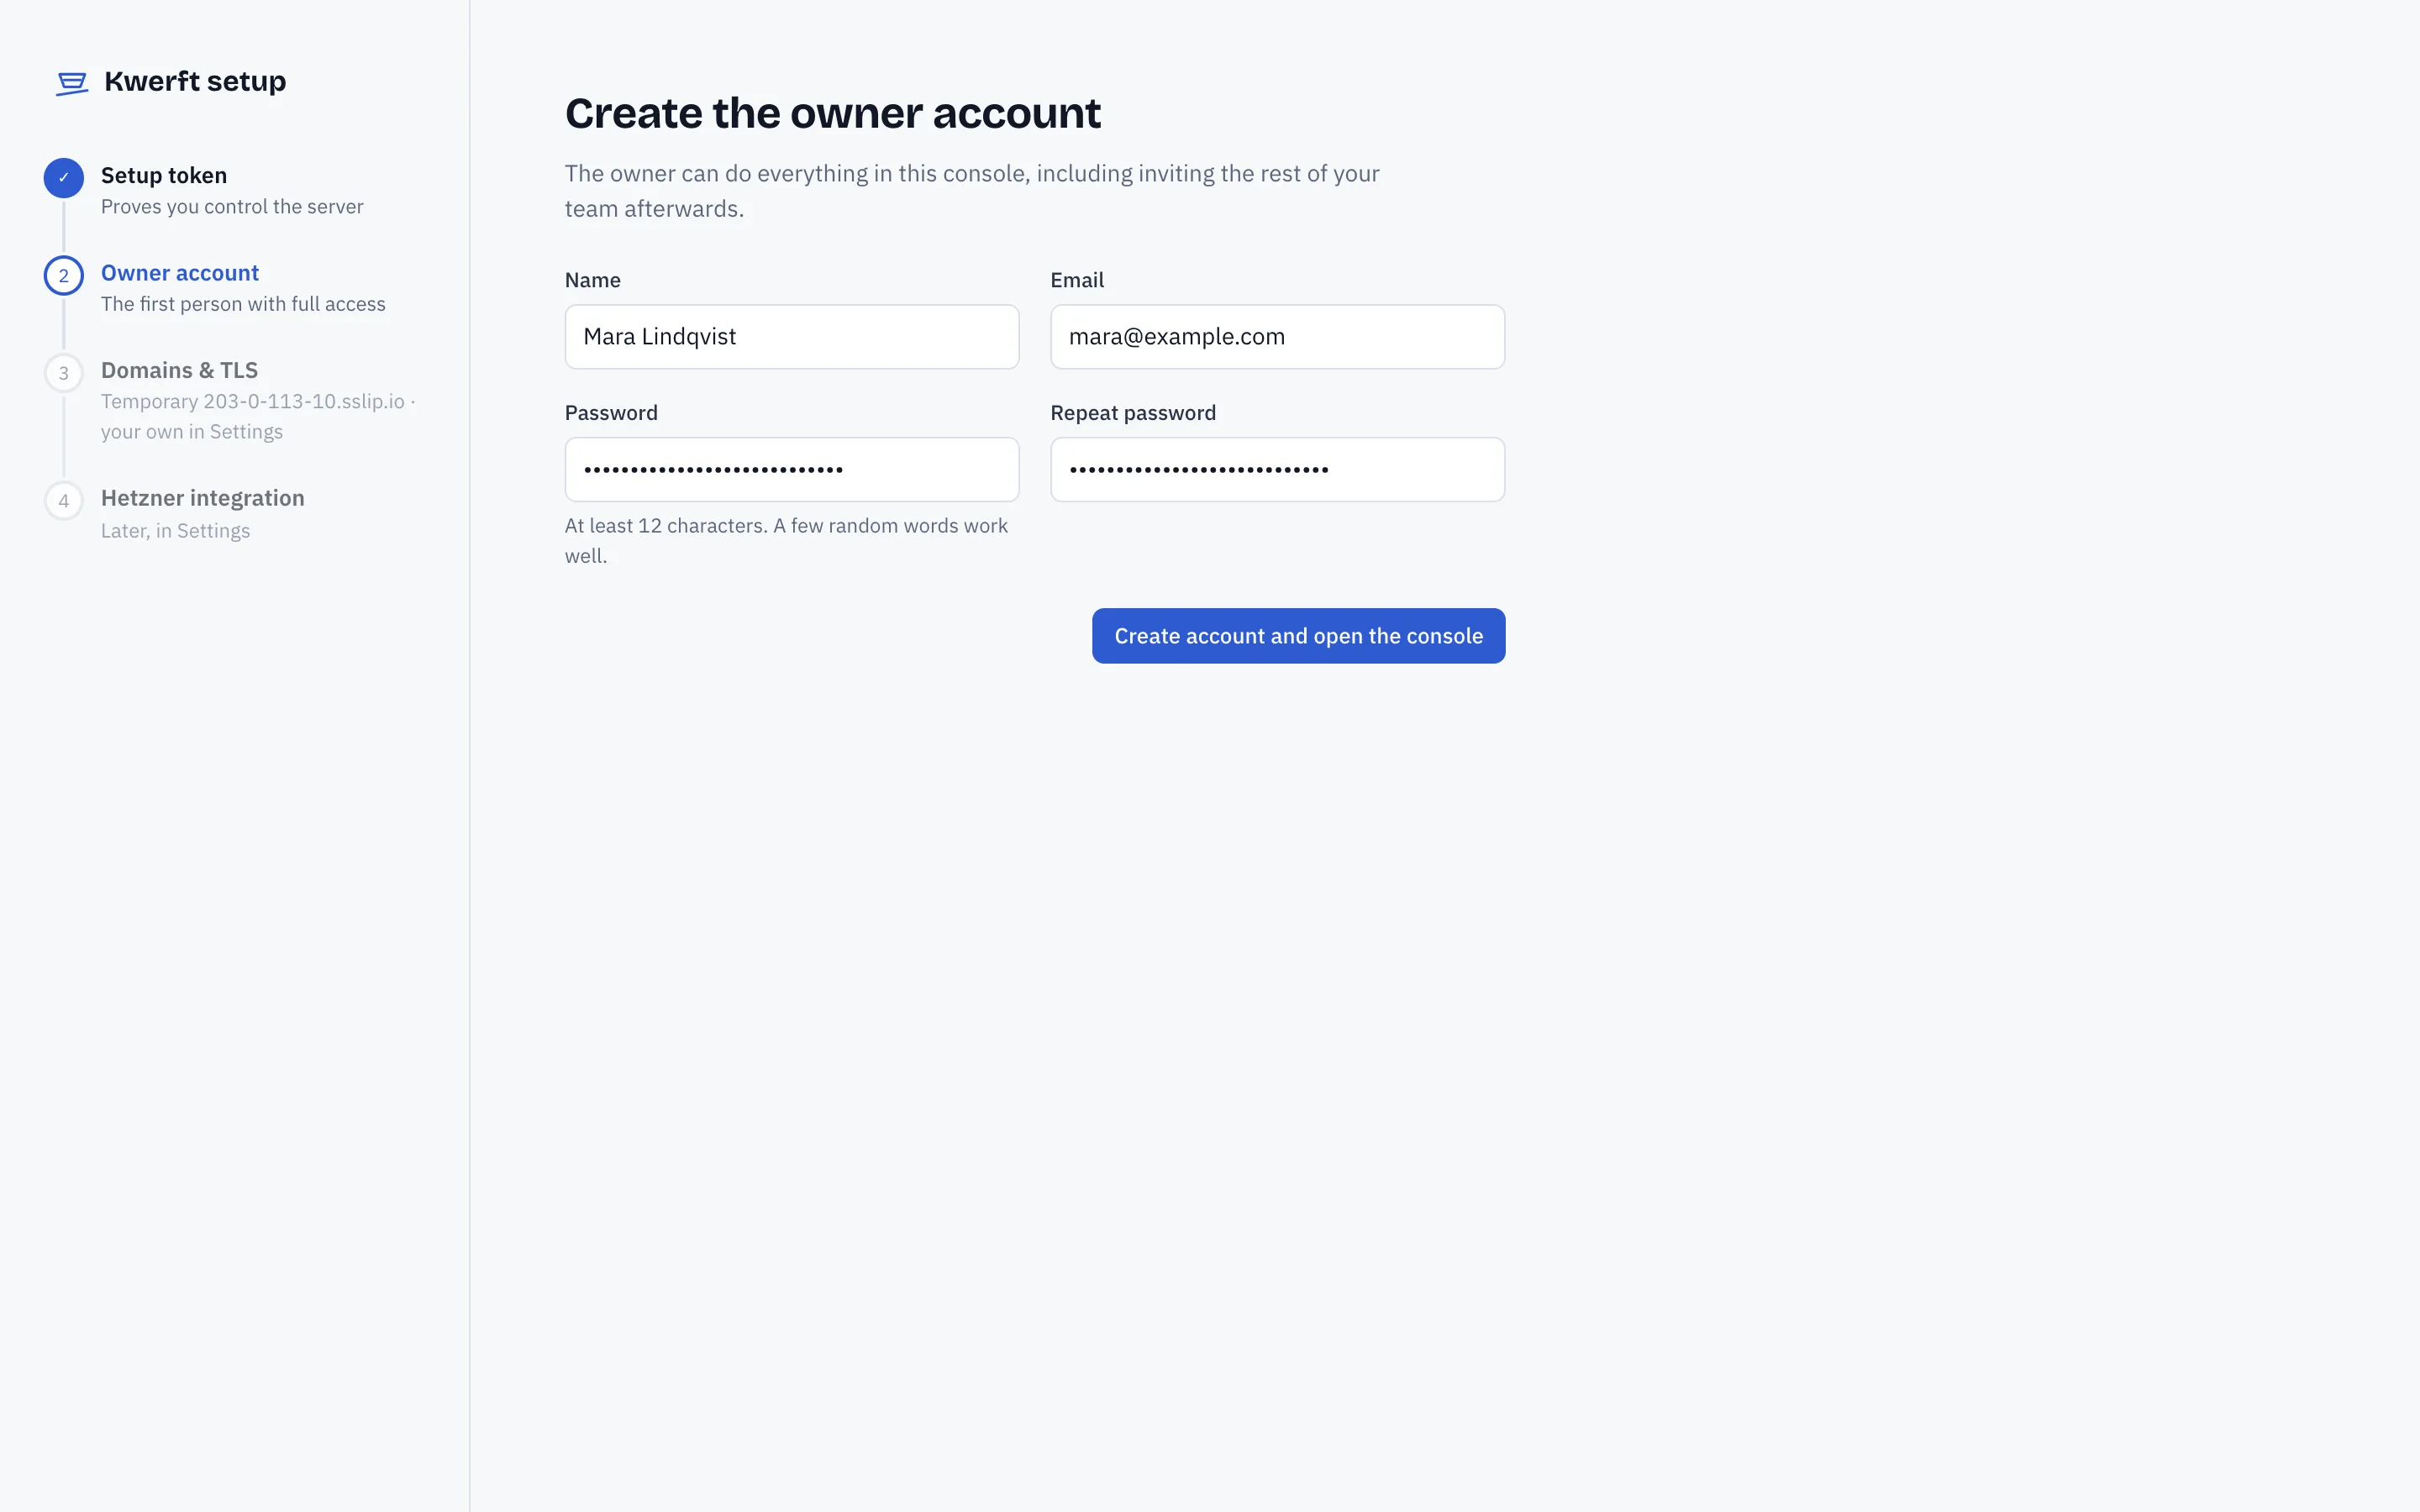
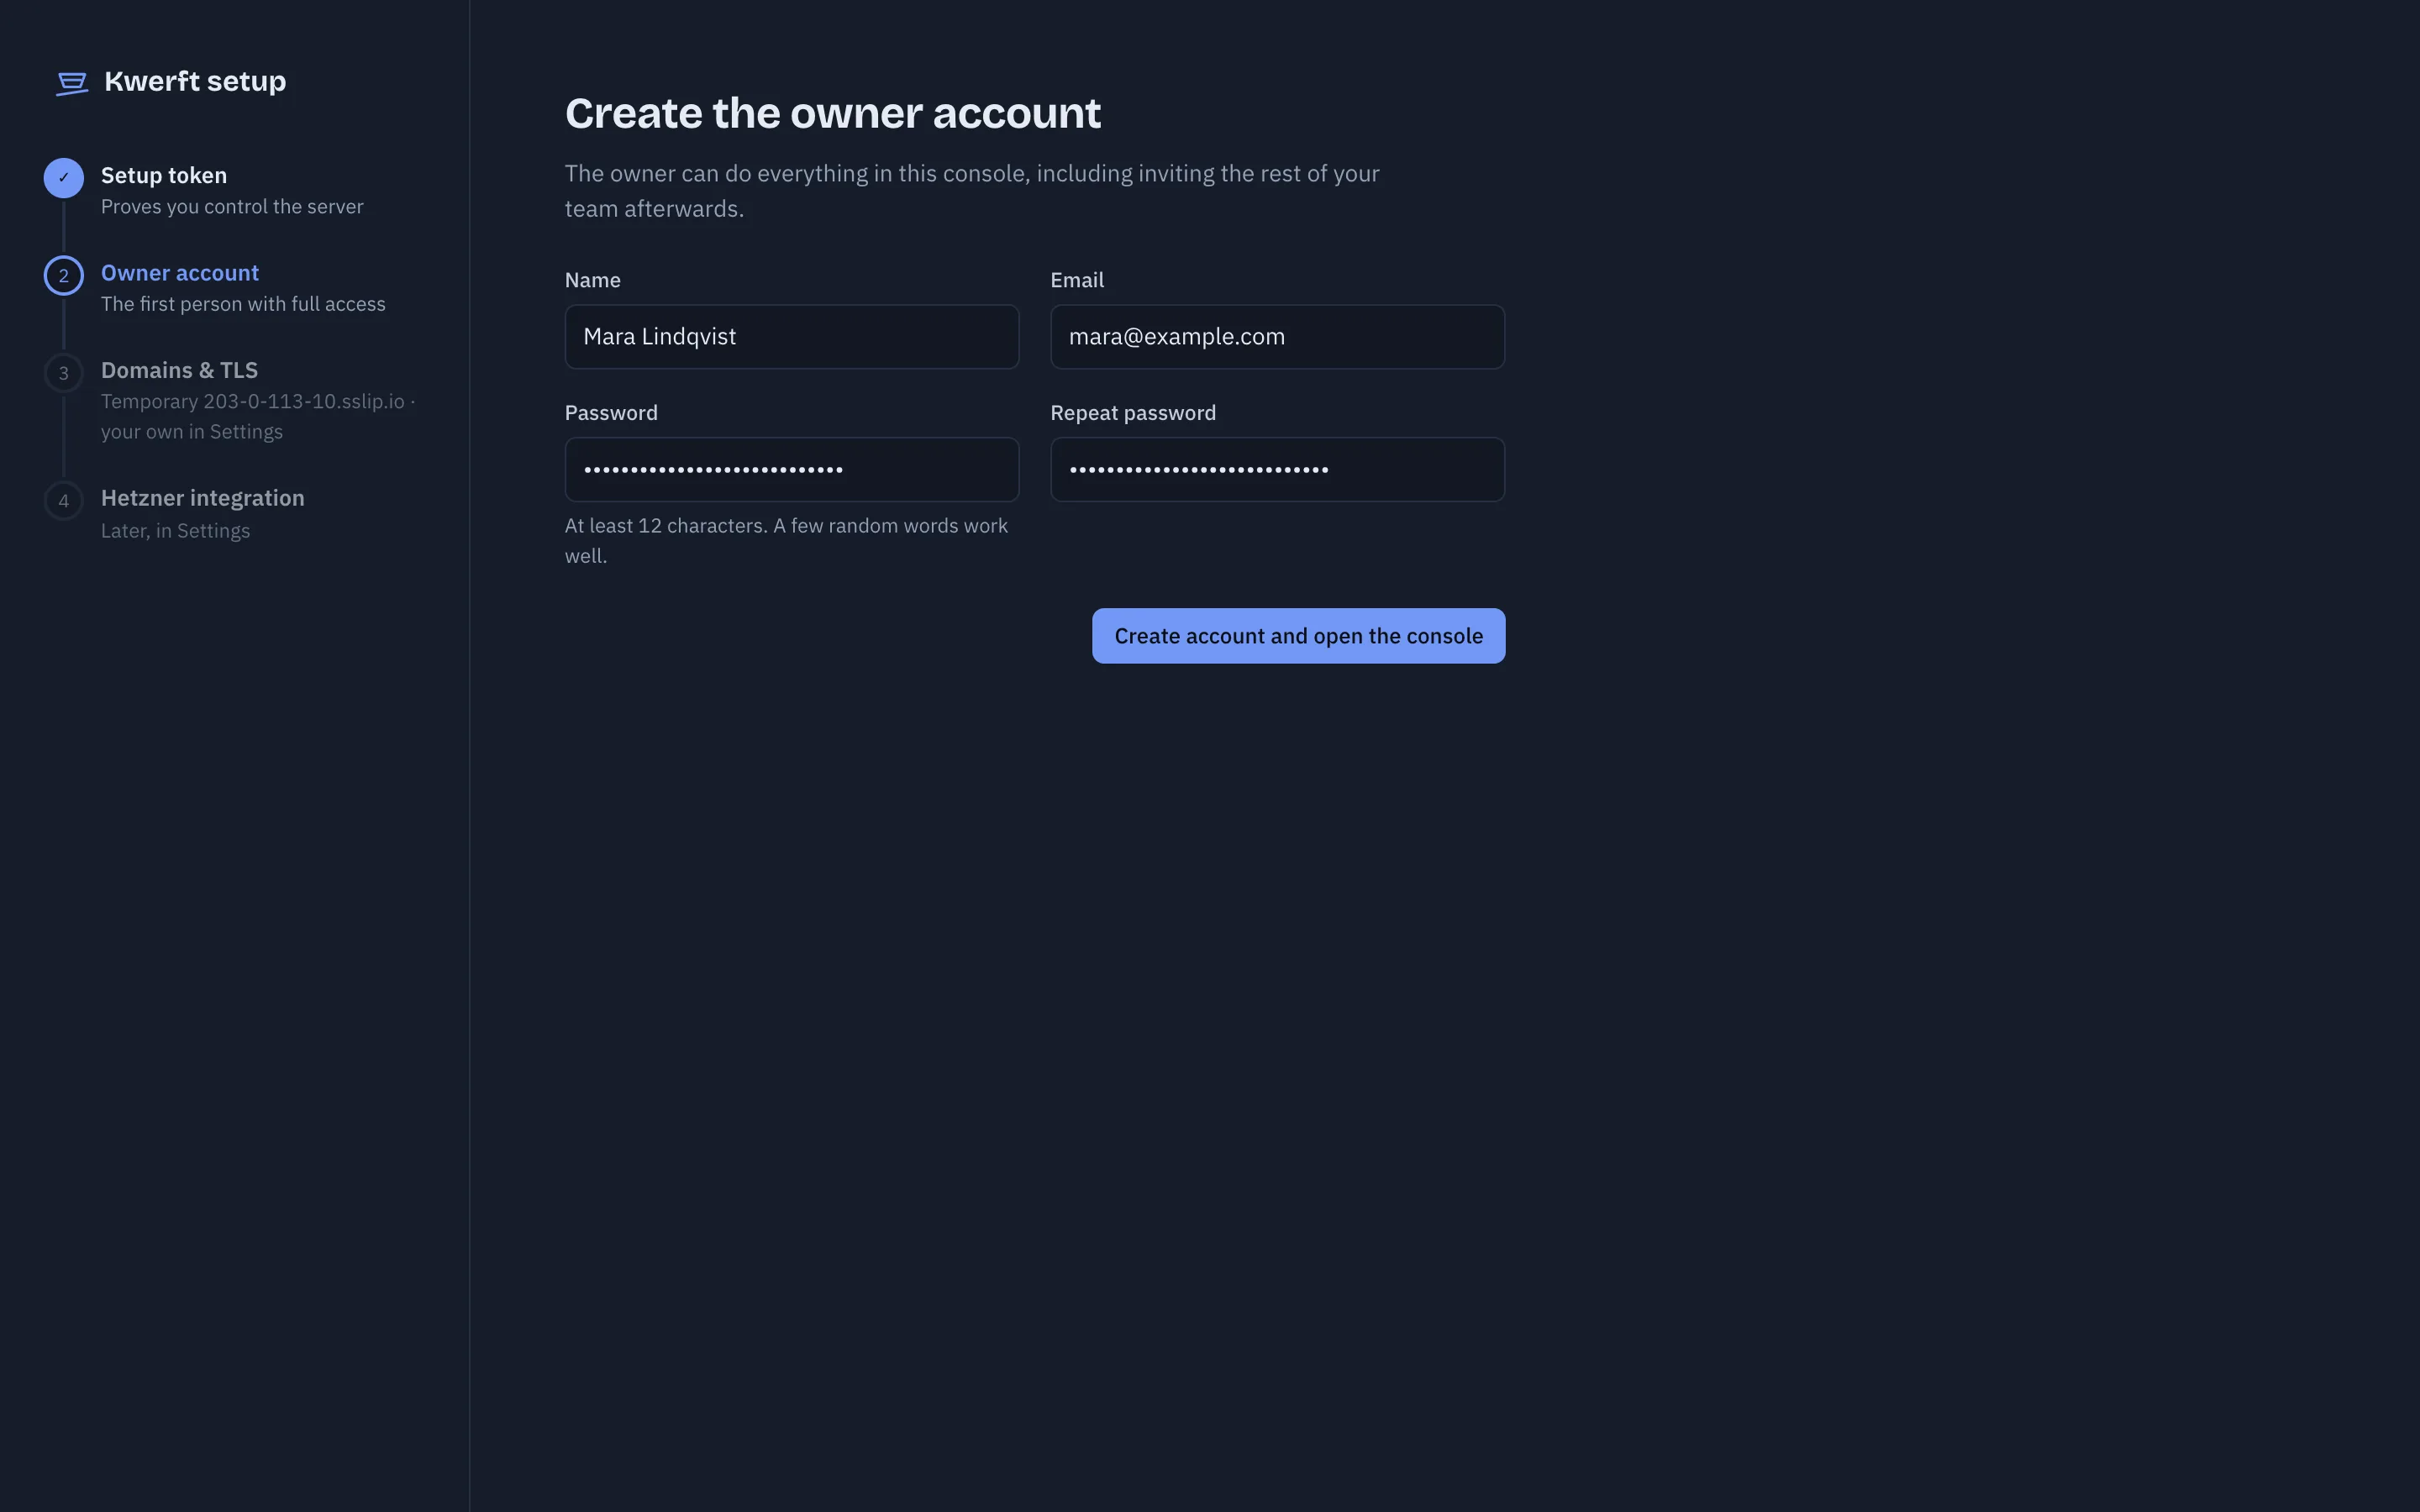
sudo cat /etc/kwerft/setup-tokenPaste it into Setup token, then enter your name, email and password under Create the owner account. The token works once and expires after 24 hours; if it does, re-run the installer for a fresh one.
Once you're in, add a passkey or an authenticator app on your account page (your name at the bottom of the sidebar). Owners can require two-factor sign-in for everyone later.
5Set an apps domain
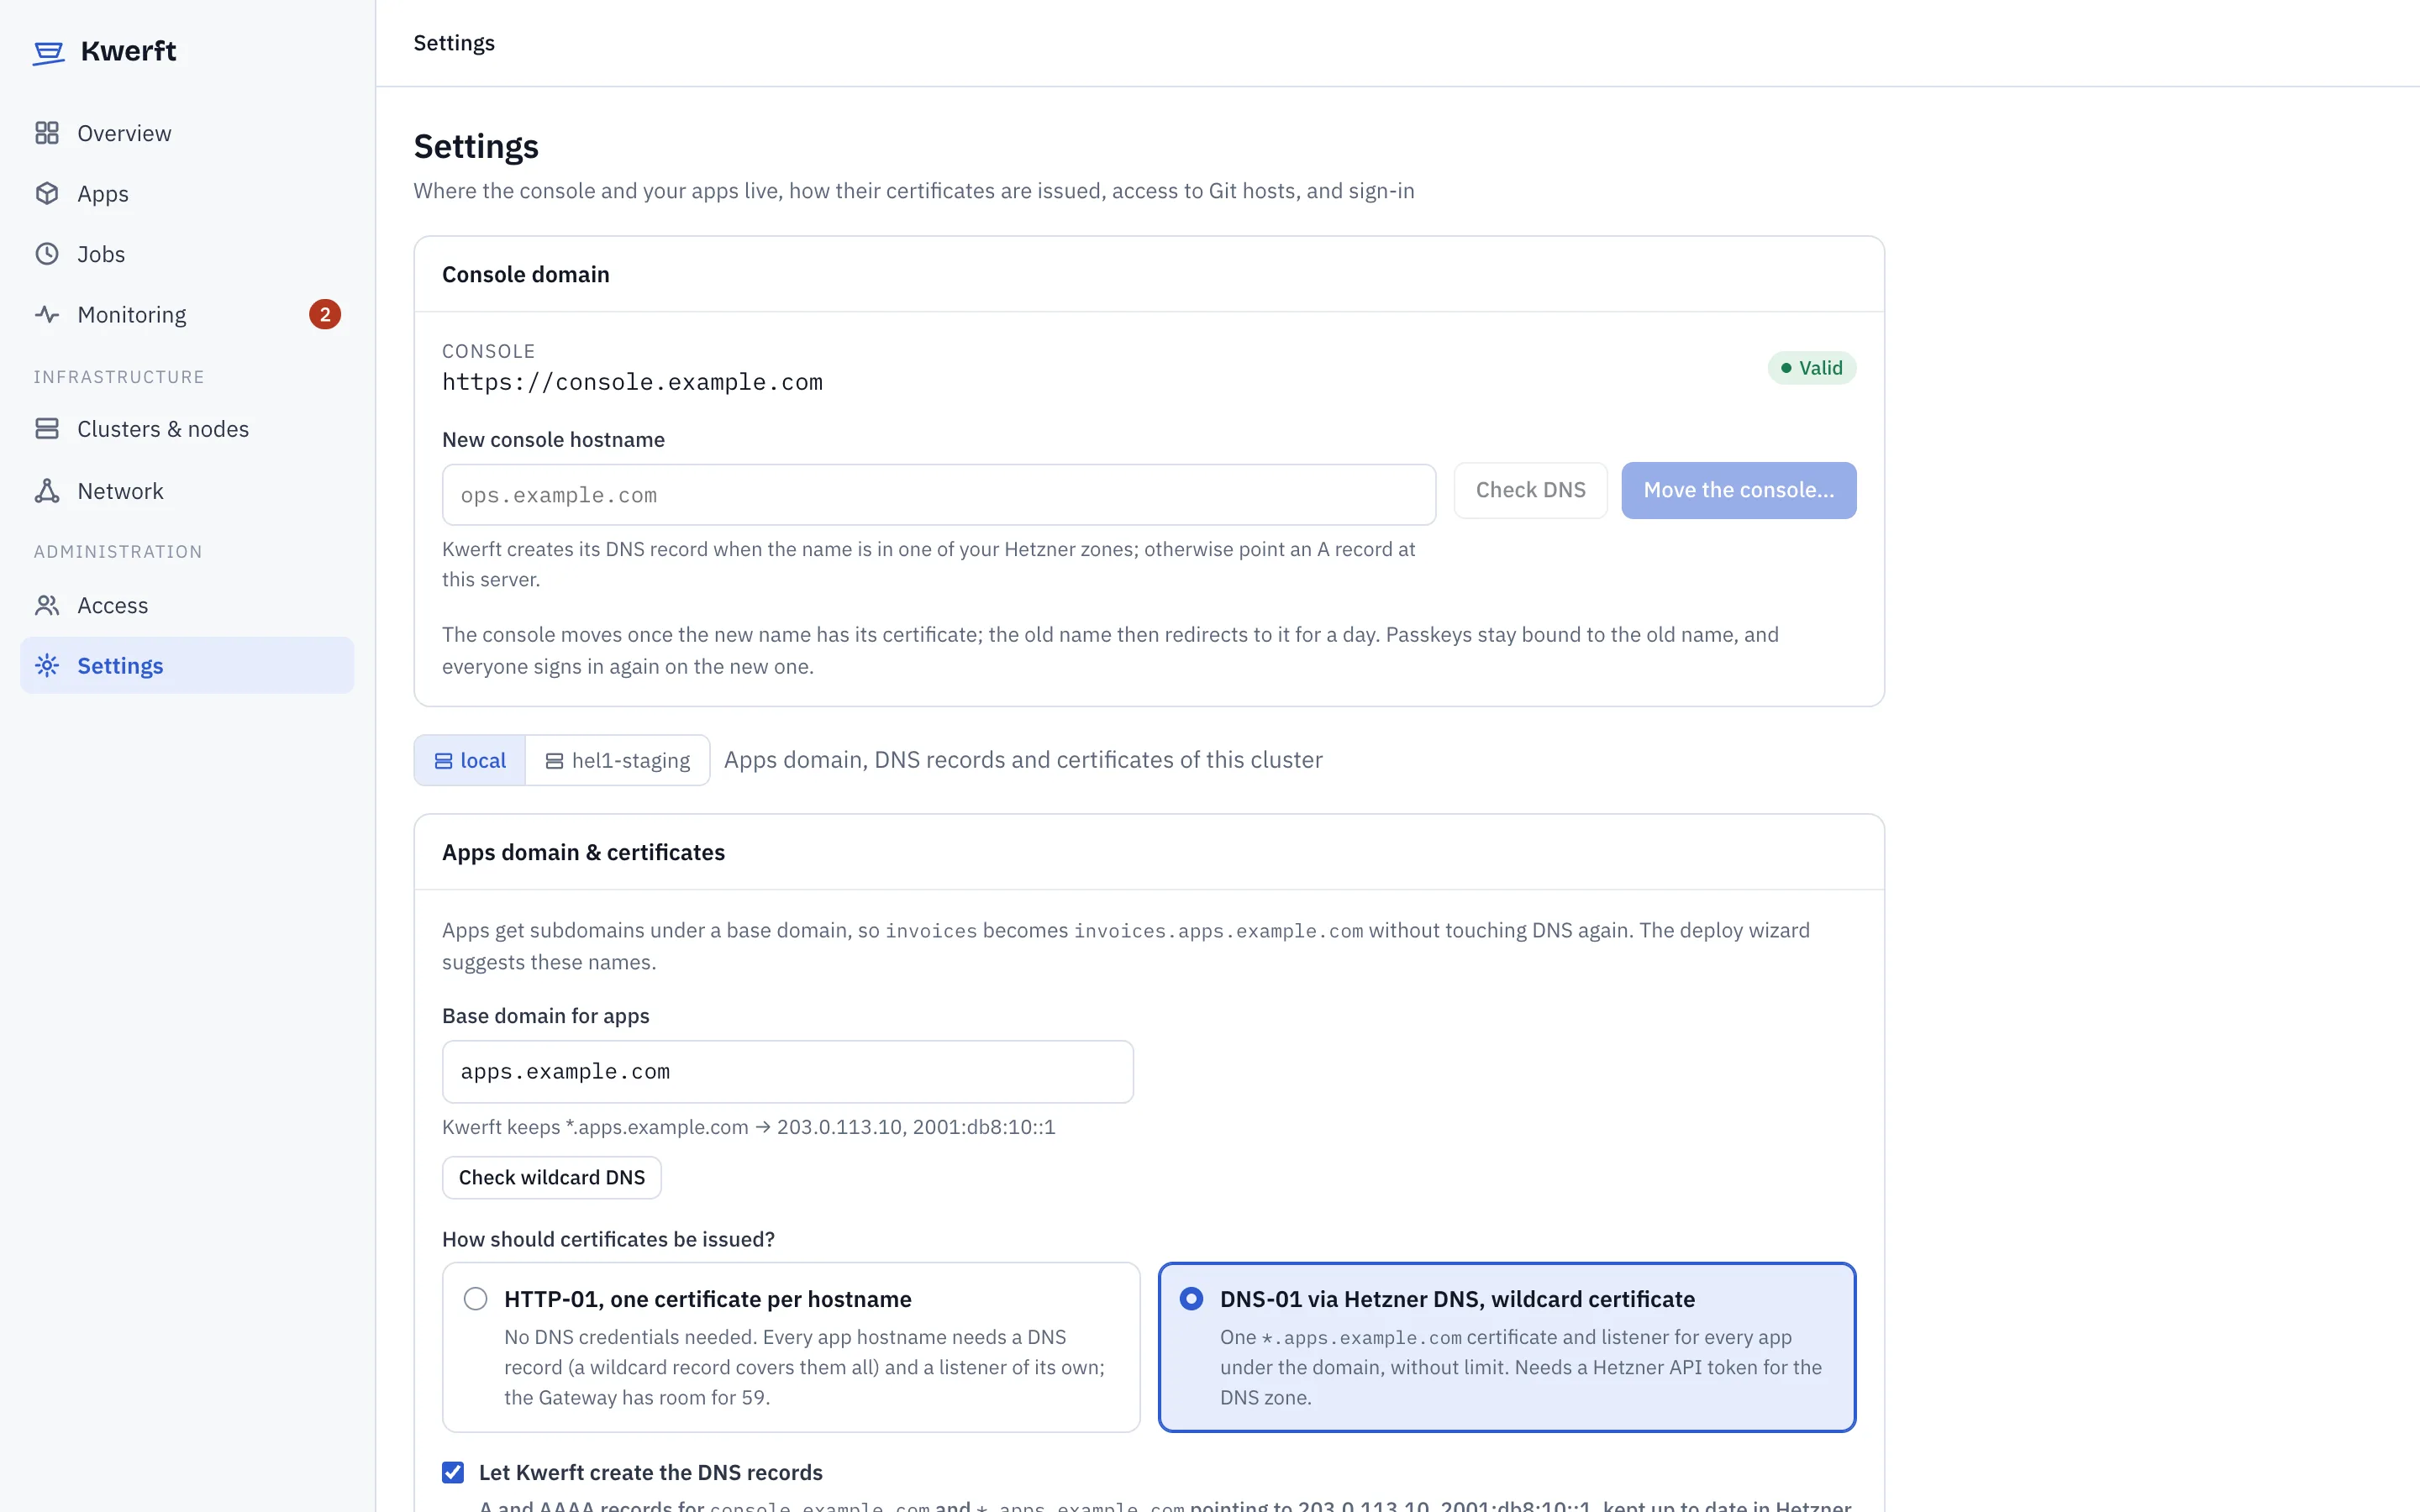
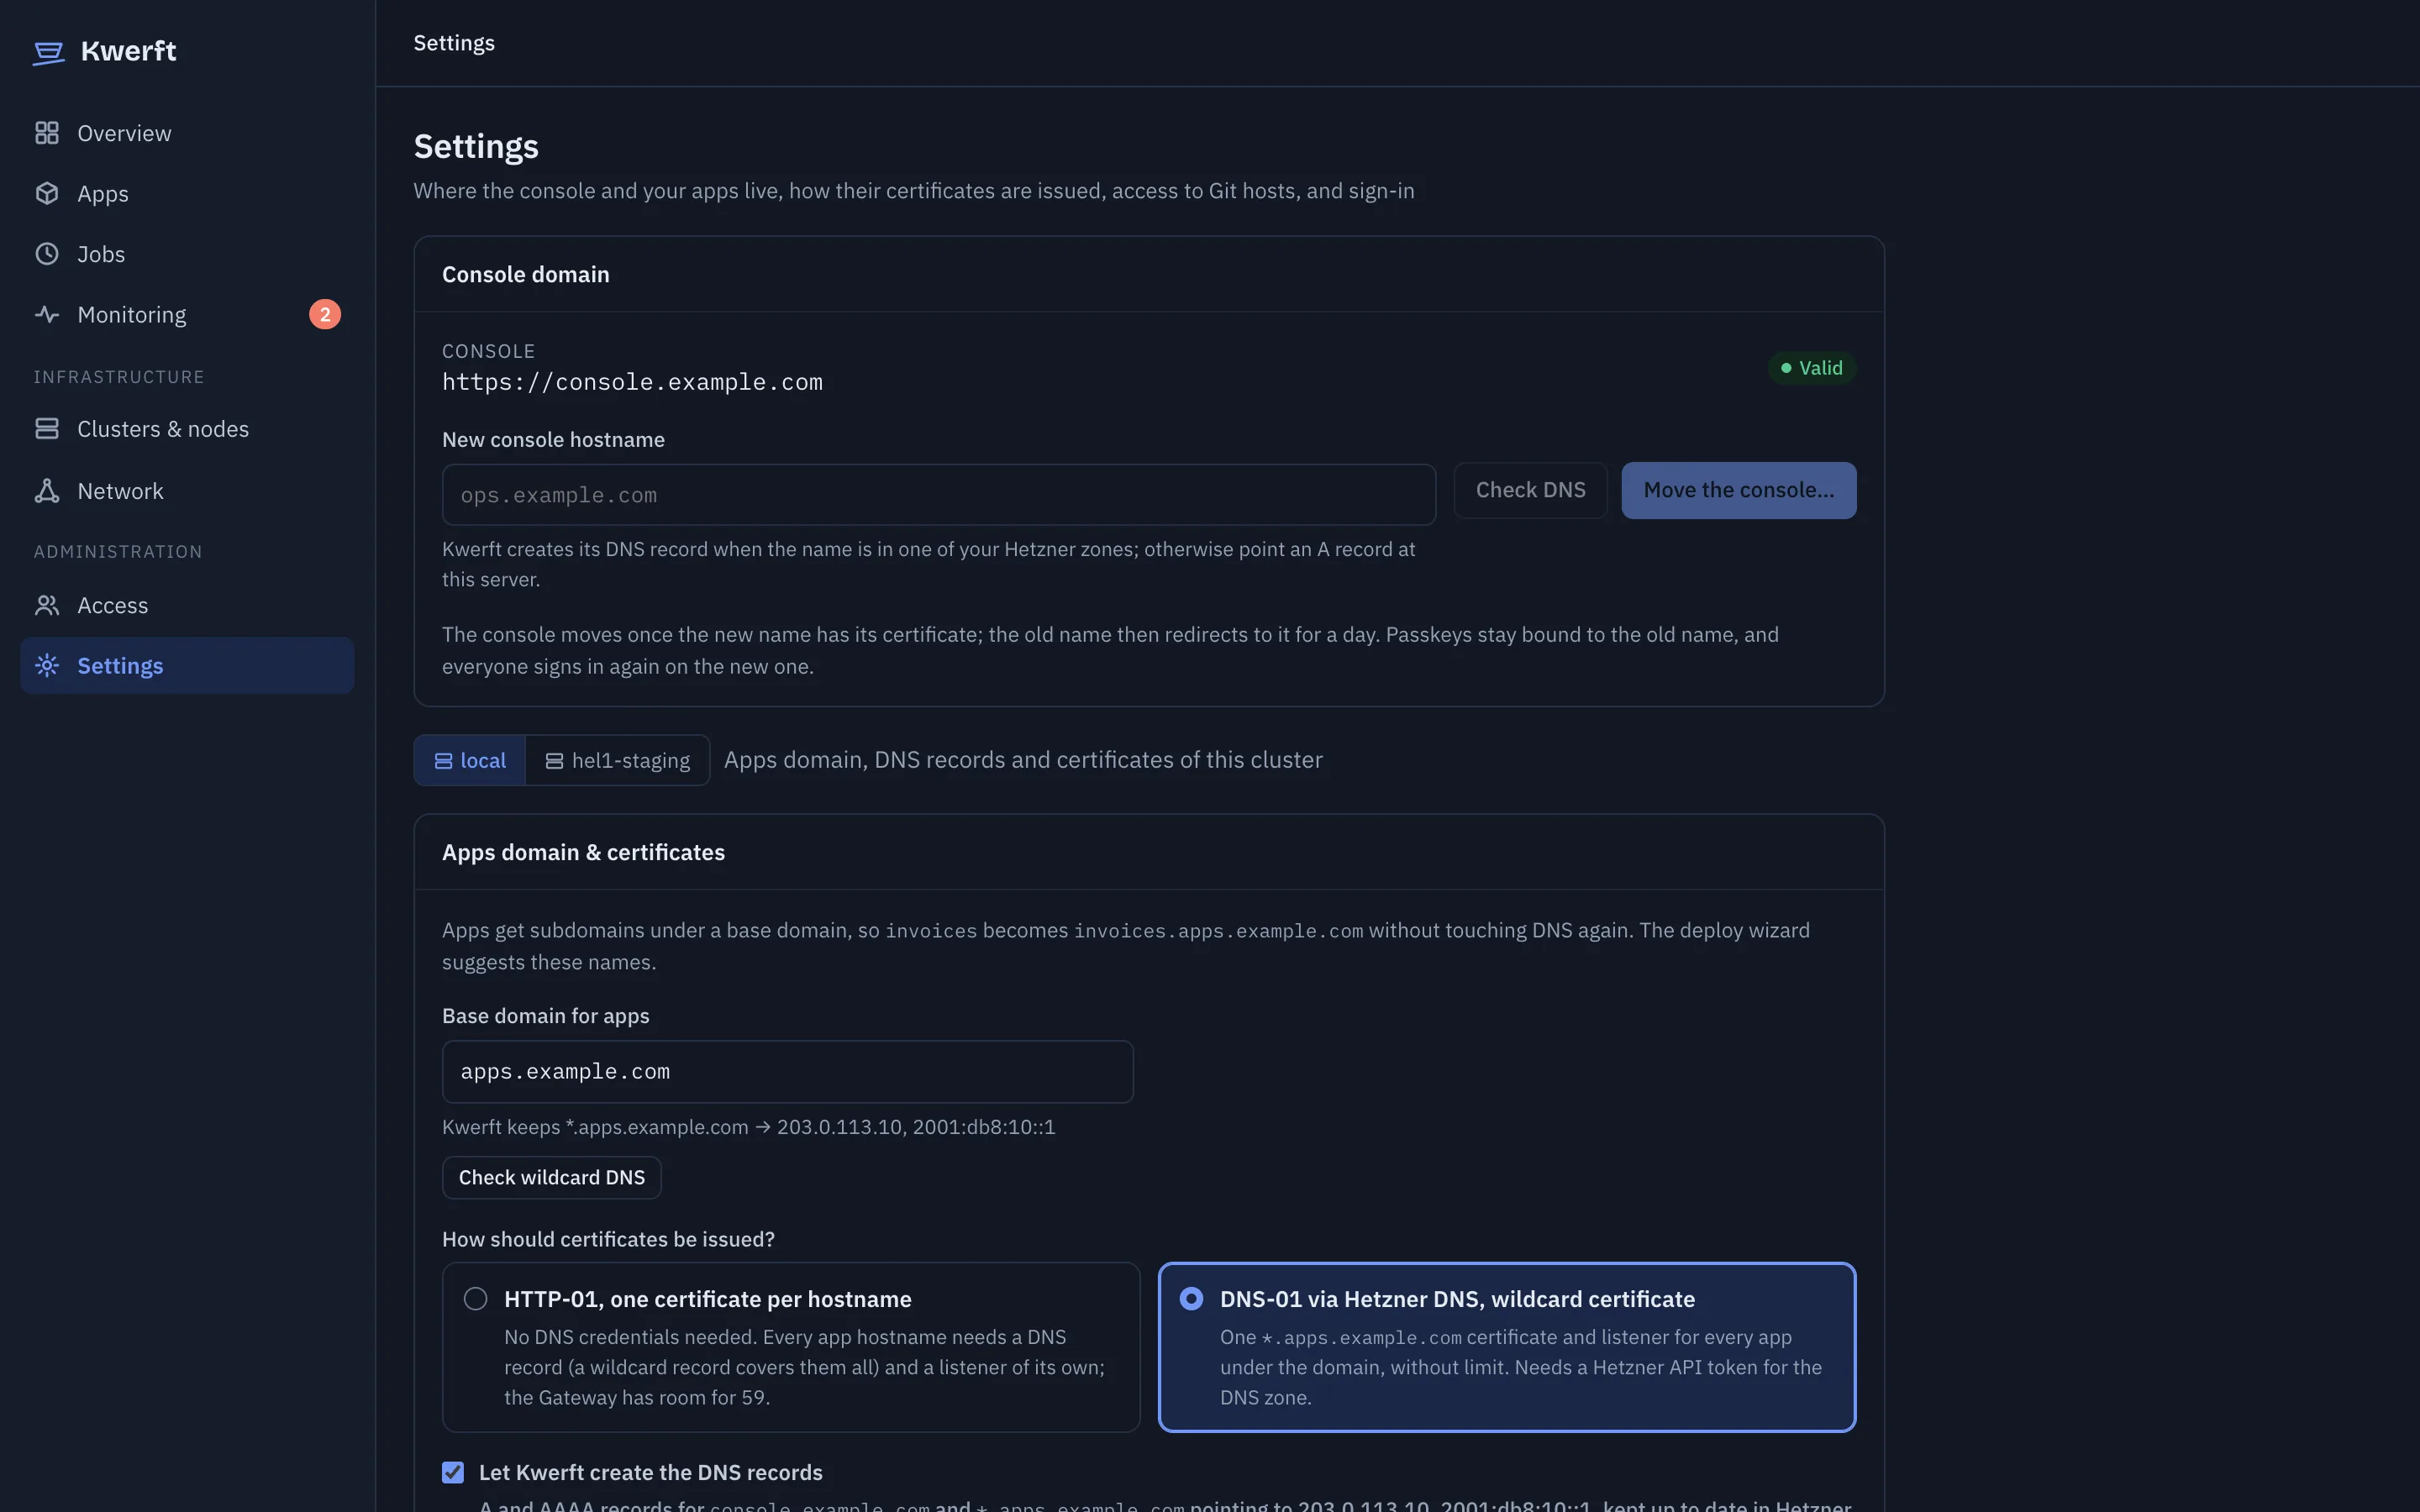
Apps get hostnames below a base domain, such as storefront.apps.example.com. Set it under Settings › Apps domain & certificates, then choose how certificates are issued:
- HTTP-01, one certificate per hostname: create a wildcard record
*.apps.example.compointing at the server. Nothing else to configure. - DNS-01 via Hetzner DNS, wildcard certificate: give Kwerft a Hetzner API token for the project that holds your DNS zone. New apps are live without waiting for a certificate, and Kwerft can keep the DNS records itself (Settings › DNS records).
You can skip this step and give each app a full hostname of its own. Details in Domains & TLS.
6Deploy your first app
Go to Apps › Deploy app. The wizard has four steps:
- Source — choose a project (create one with New project…), name the app, and pick Image. Try
traefik/whoami. Or pick Git to build a repository; see Builds from Git. - Runtime — size, replicas, environment variables and volumes. The defaults are fine for now.
- Networking — set Container port to
80and Exposure to Public domain. The domain is filled in from your apps domain. - Review — shows the App resource and everything Kwerft will create from it. Deploy.
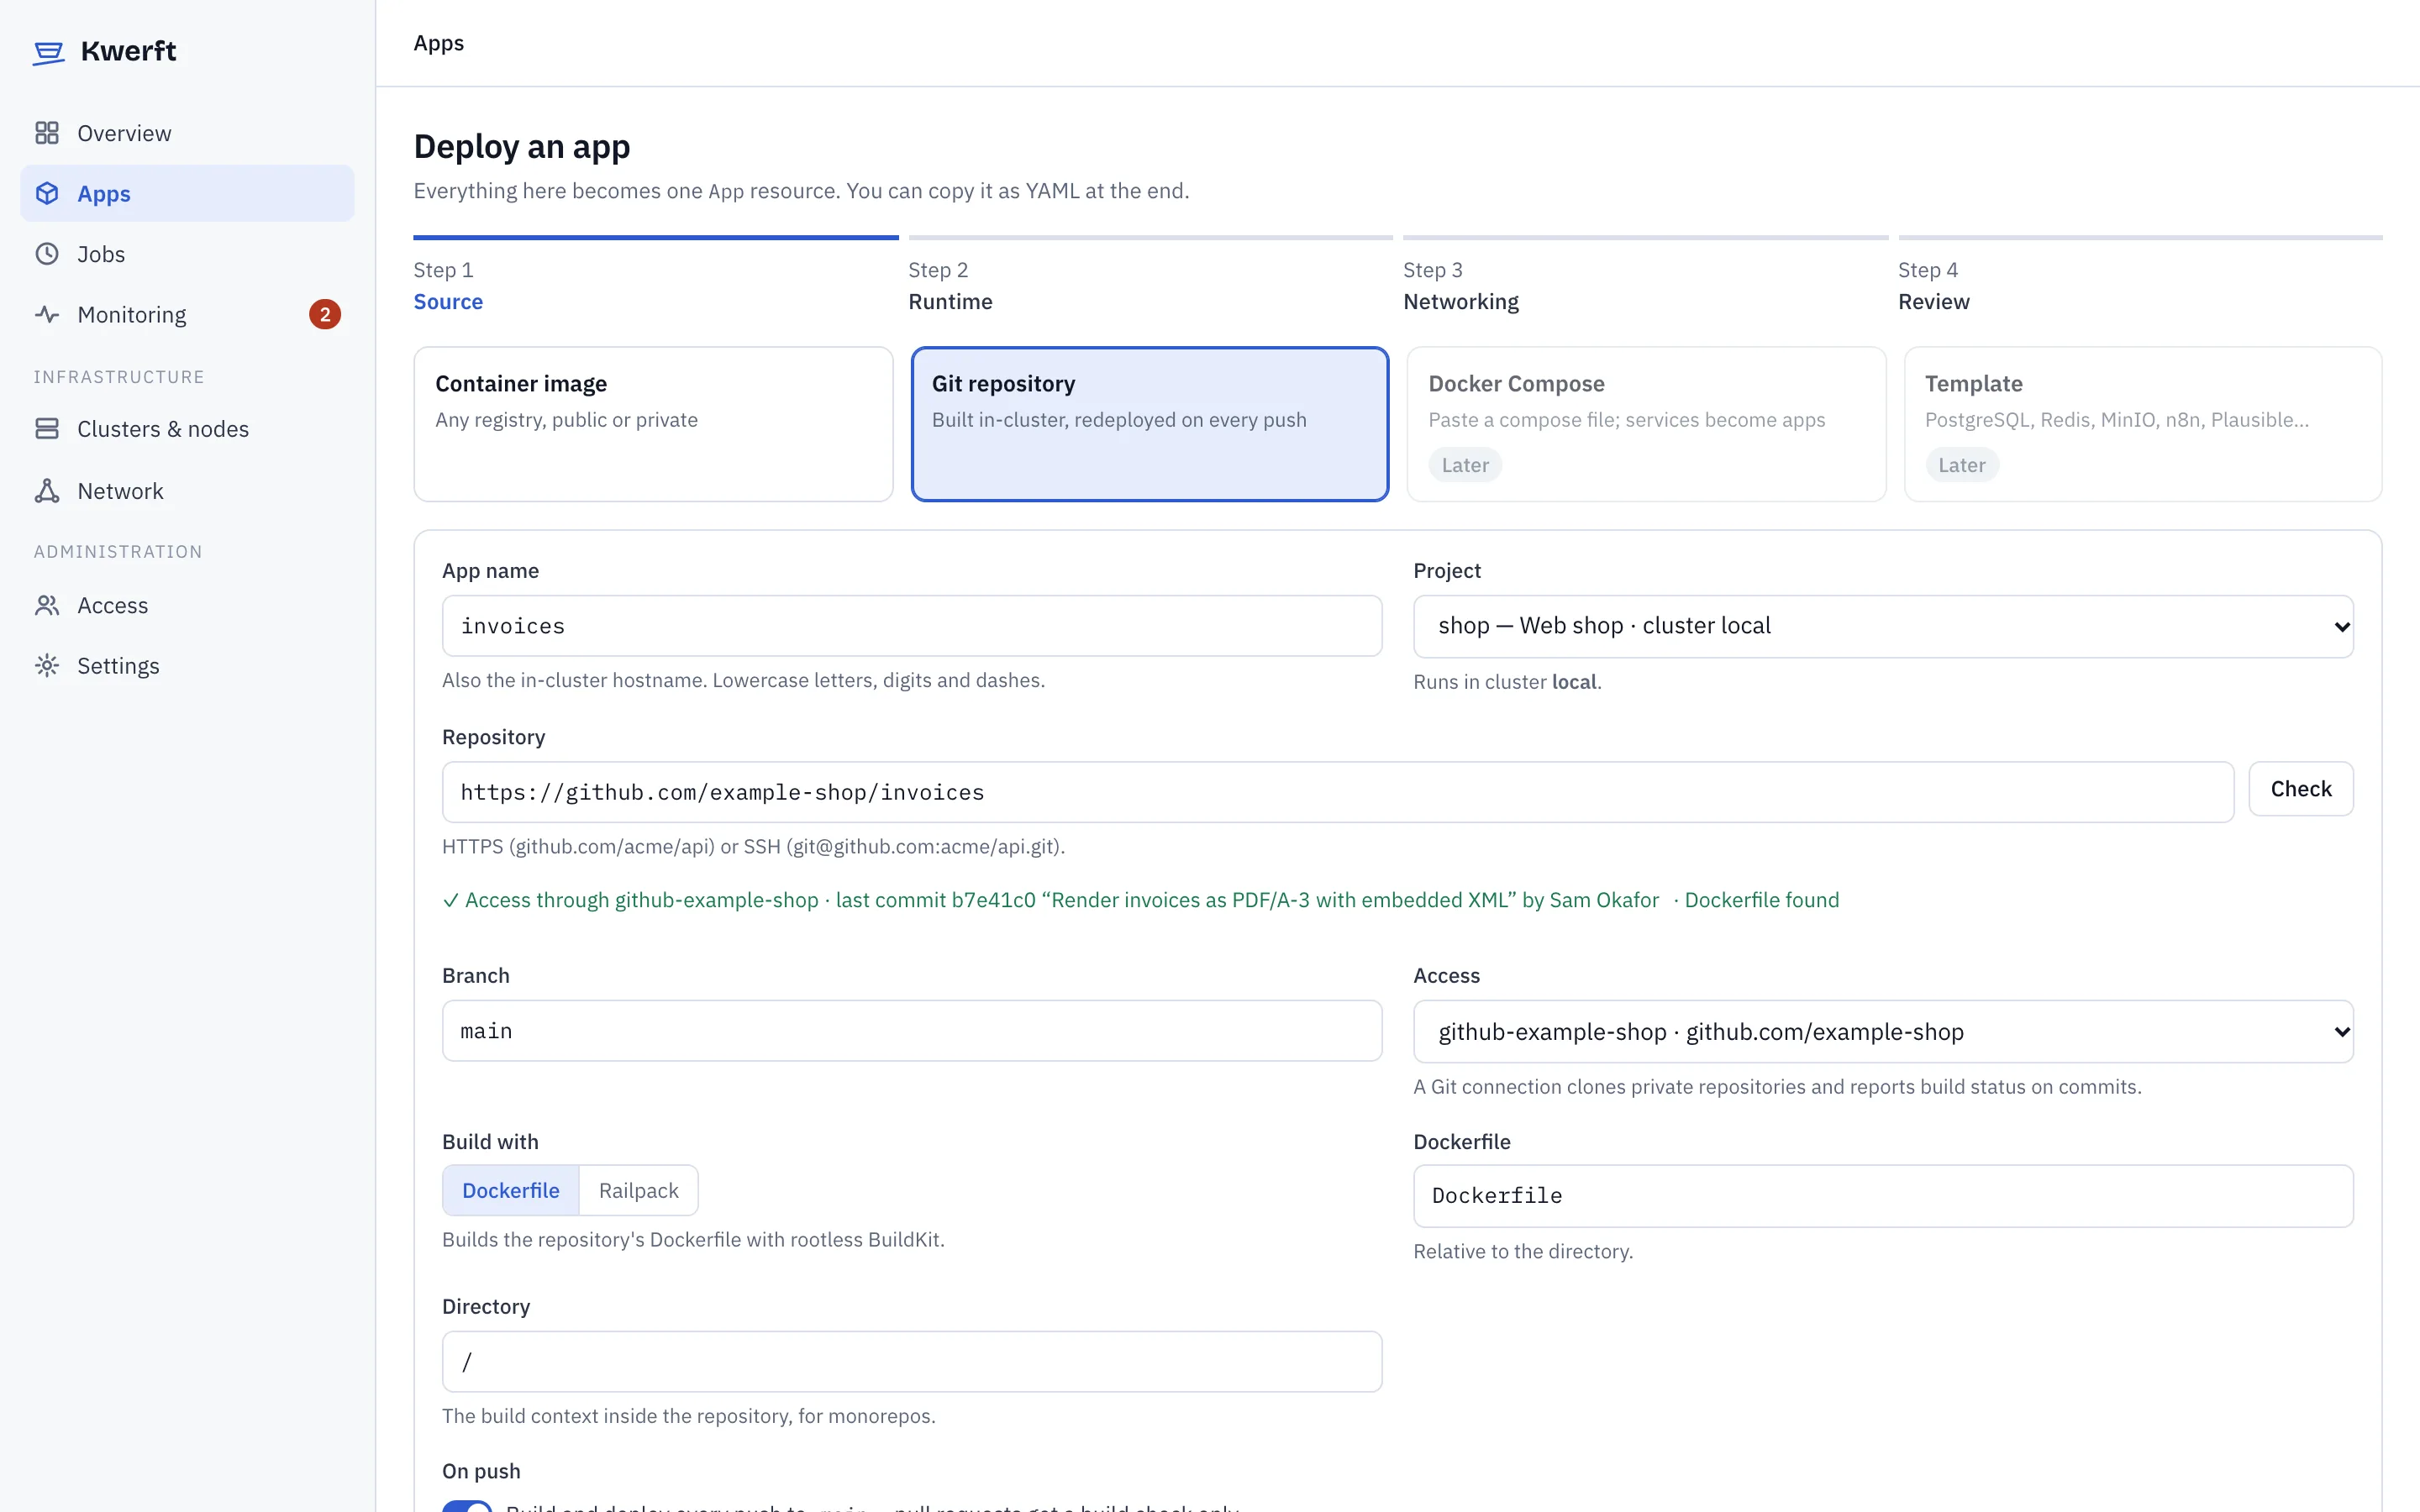
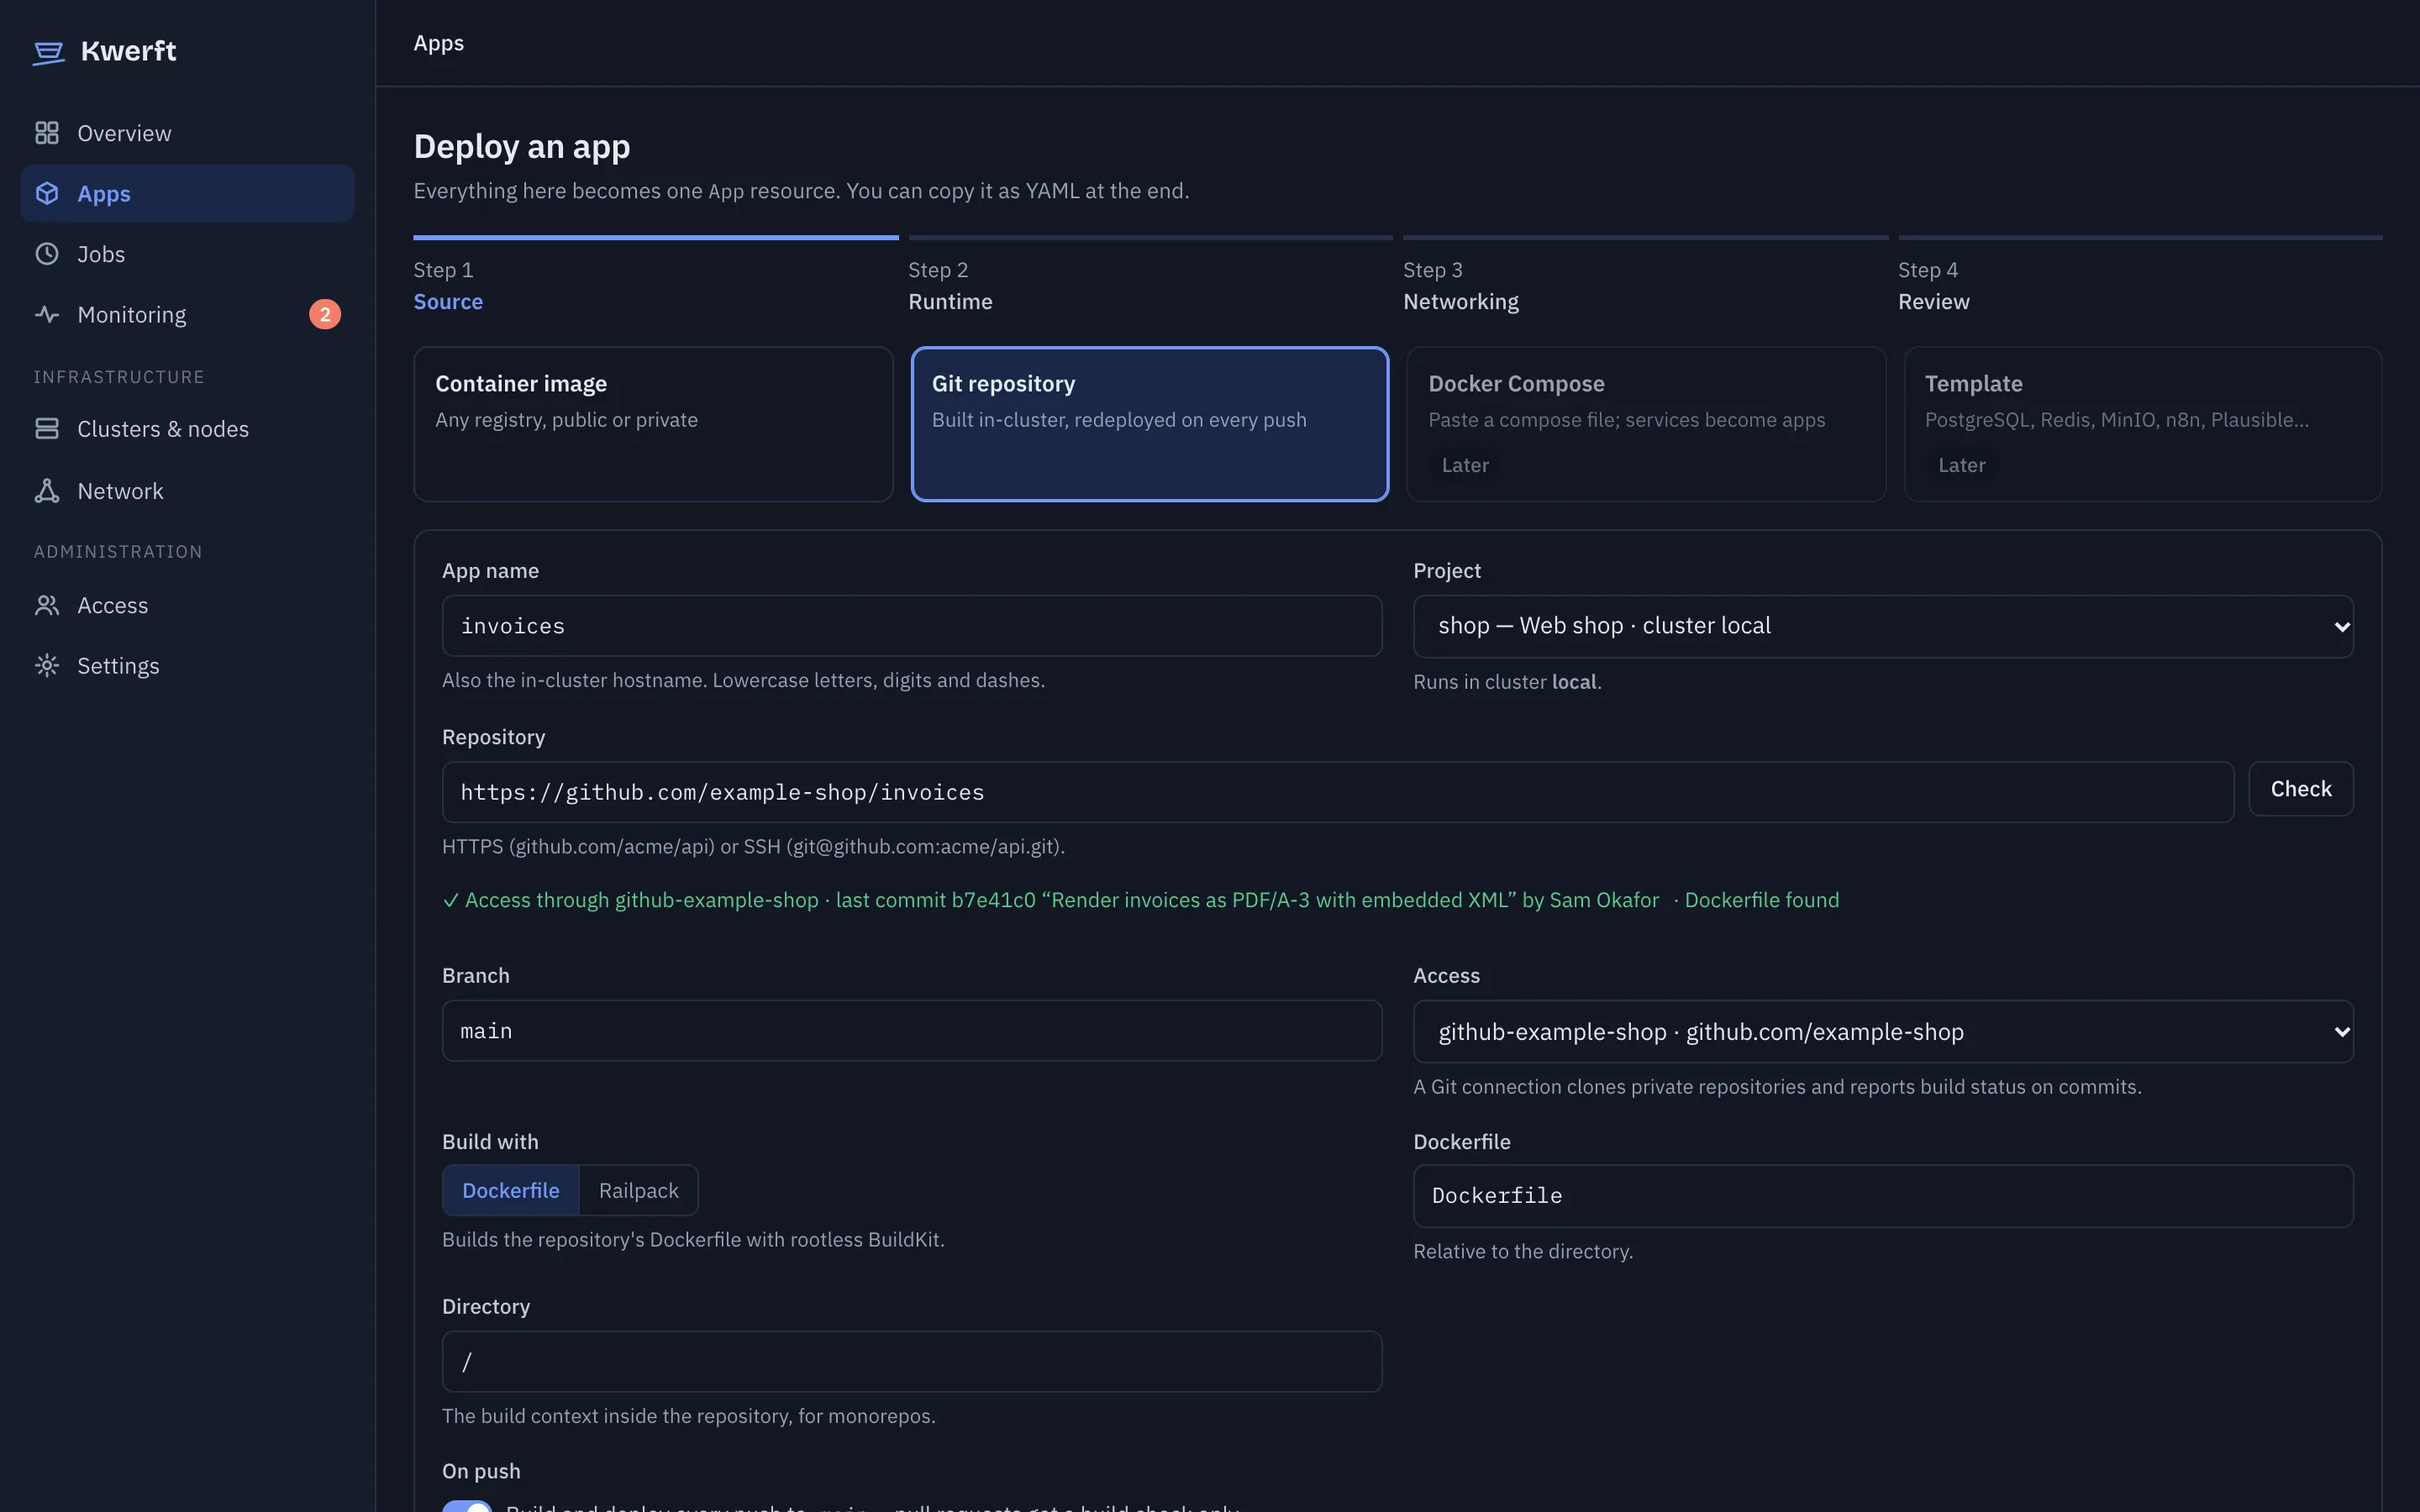
The app page shows the rollout, then the address it's reachable at. The first certificate takes a minute or two with HTTP-01 and is immediate with a wildcard. From the same page you can follow logs, open a shell, scale, restart and roll back.
7Where to go next
Installing unattended, for example from cloud-init? Options that take a value also work as KWERFT_<NAME> environment variables, and --yes skips all prompts. See the installer reference. kwerft.dev/install.sh forwards to the script in ehilzinger/kwerft-install on GitHub, where you can read it first.